
As we get closer to our due date, we're going to start needing more baby furniture. Besides the normal crib-and-dresser-set, we'll need a changing table too. Though we could have bought a dresser with a built-in changing table, we wanted to be able to use our dresser as a normal dresser when our kid is older. So, we opted to buy a normal dresser, and build a removable changing table to put on top.
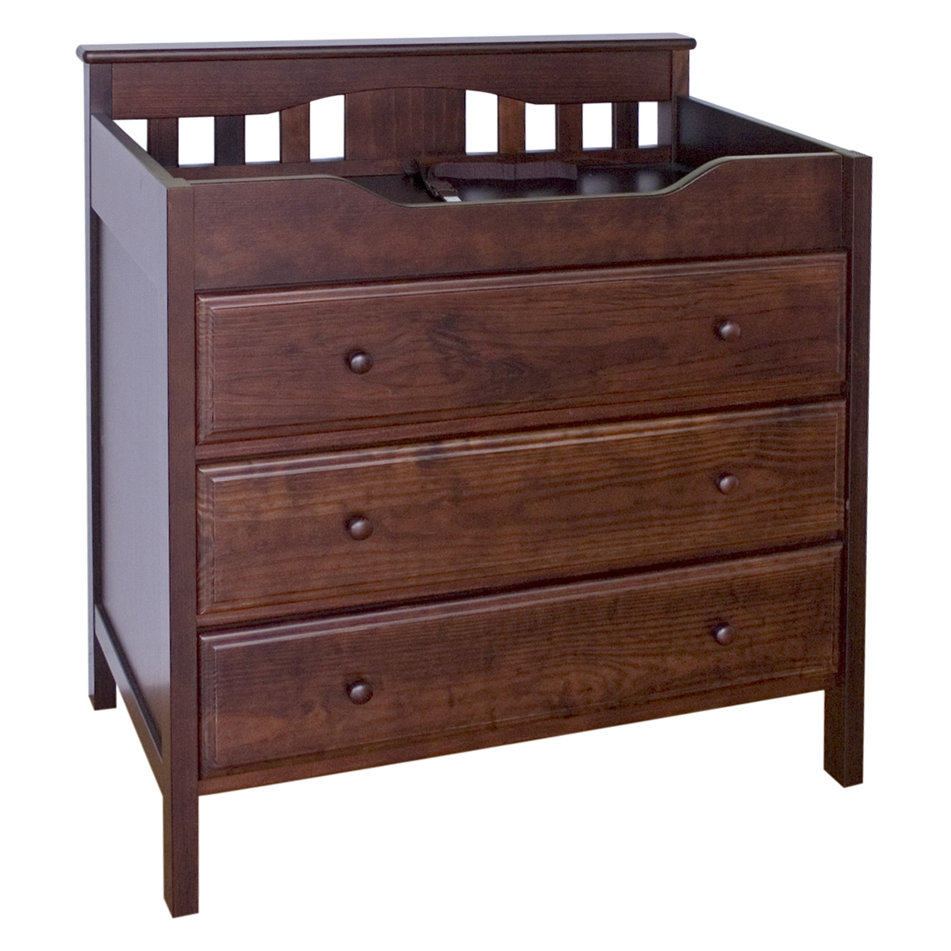
The design for this changing table is based on the changing table that normally comes as part of the crib furniture set we bought. As you can see in the picture, this dresser has a permanent changing table, making it less-than-desirable to have as our kid grows older.
The construction of the table is fairly straight forward, making use mainly of mortise-and-tenon joints for strength. The sides and front are all attached to corner posts with M&T joints, with the back consisting of a bottom and top runner (also with M&T joints to corner posts), with slats spaced between. The slats are loose tenons themselves which will fit into mortises cut into the bottom and top runners. The top runner gets a cap that fits onto the two corners and length of the runner, with a small hidden dado securing it. To protect the dresser, the table includes its own floor, and is lined with felt on the bottom to prevent scratching.
The whole thing will be made of alder (the grain matches our existing furniture well), and stained with a deep espresso stain to match the existing furniture. A layer of shellac rubbed to a satin finish will complete the finish and give the table a nice close-to-wood appearance with a slight glow.
Actually attaching the table to the top of our dresser will be done with a small bracket that will attach to the back of both the table and the dresser. When it's no longer needed, we simply unscrew the bracket and remove the table — no marks should be visible on the dresser after that.
 |
| X-ray view of the back, showing the M&T joints. |
The plan is to start working on this project in parallel with the rocking chair. Though I really want to have the rocking chair done by the time our kid is born, we need the changing table sooner, so I'll be slightly shifting to get this done.
Happily, the most complicated part of this project is going to be the band-sawn curves (easy with a template), and the M&T joints (easily accomplished with the help of either the bandsaw, table saw, or router, and a good sharp chisel).
With the lumber purchased and acclimating in my shop (it's always a good idea to let lumber acclimate to its new environment for at least a week to reduce the possibility of wood movement), next week I'll start milling wood. ■
No comments:
Post a Comment